Getting Started
Installation
This sections provides the minimal system requirements and installation instructions.
System Requirements
- The iOS App requires iOS 15 or greater, this means the oldest device supported is the iPhone 6s.
- The Android app has 2 separate flavors
fullorminimal. Both flavors require Android 5.0 or greater. Thefullflavor is the one offered via the Play Store and requires Google Play Services in order to function properly. More details on the differences between the 2 flavors can be found here. - You need to be running Home Assistant 0.104.0 or newer.
- The mobile apps requires the following integrations to be enabled in your Home Assistant instance,
configuration.yaml:default_config:
- If for some reason you have disabled
default_config:make sure yourconfiguration.yamlat least contains:mobile_app:
- For some features the following integrations also need to be enabled:
cloud:is used for securely connecting to your Home Assistant via Nabu Casa subscription via Remote UI and cloud webhooksios:is used if you want advanced notifications like actionable notifications and categories
Setting Up
- If your Home Assistant instance is correctly set up for remote access, you should be able set up the Companion App from any location.
- If you're connected to the same network as your Home Assistant, it will automatically be detected during set up.
-
Download the Home Assistant Companion App from the iOS App Store or Play Store.
-
When you open the app for the first time, you'll be guided through the process of connecting to your Home Assistant instance. Follow the steps.
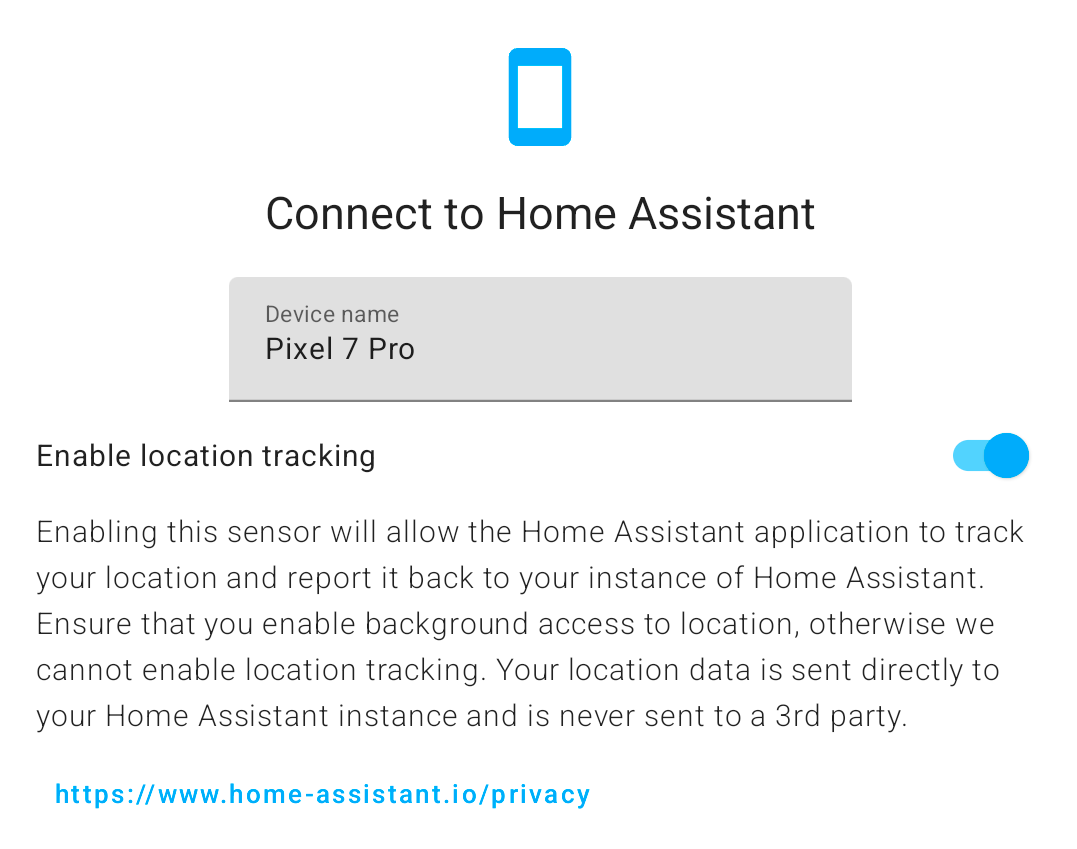
- You are asked to grant the required permissions to integrate your phone with Home Assistant.
- One of the permissions requested is for location access.
- If this permission is denied, then you will not get a
device_trackeror anysensorentity created for the device.
-
Once you are done on the first screen, select Continue.
- The app will start checking your network for Home Assistant instances.
- If an instance is found, tap the instance and follow the prompts to connect and log in to your Home Assistant.
- If you are not connected to the same local network as your Home Assistant instance, tap Enter Address Manually and enter the address you use to remotely connect to your Home Assistant instance (using the Home Assistant Cloud Remote UI is recommended but not required).
- The app will start checking your network for Home Assistant instances.
-
Once you have connected and logged into your Home Assistant instance, you will be asked to grant permission for the app to work with your iOS device beyond basic browsing of your Home Assistant instance.
-
You are not required to grant these permissions in order to use the app.
-
However, they provide a much greater degree of integration between your device and Home Assistant.
-
The permissions that are requested are the following:
- Location: Allows your device to provide location to Home Assistant, a
device_trackerentity will be created which can be used in automations and conditions within Home Assistant. As mentioned above, due to changes in iOS 13, this permission is requested before logging into Home Assistant. For Android this permission is requested as part of the onboarding process when you first log in. If this permission is denied thendevice_trackerandsensorentities will not be created. - Motion & Pedometer: Allows Home Assistant to access pedometer data from your iOS device, this creates sensors for the number of steps taken today, floors ascended and descended, distance walked today, and current activity. It does not provide any access to data held within the Health app or any other data beyond basic motion data from the device's motion chip.
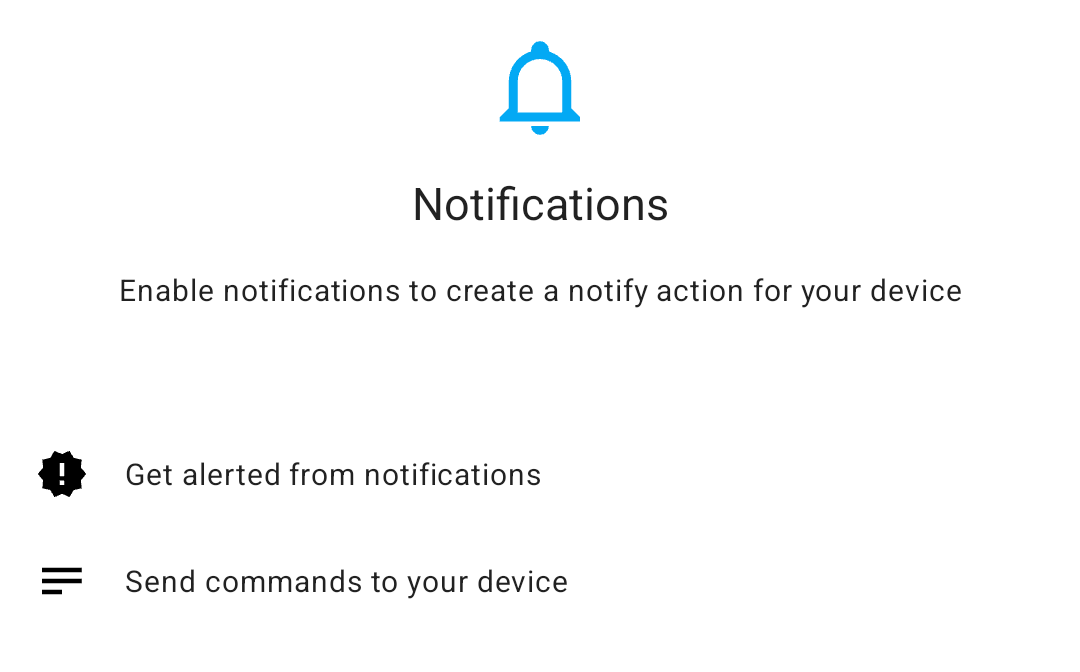
- Notifications: Allows notifications to be sent to your device by Home Assistant. Along with normal notifications, Home Assistant can send Critical Notifications; these are intended for high-priority messages and will always play a sound even if the device is in silent mode . You will be asked to give permission for both notification types. Check for the
 Android logo to see what is currently supported on Android devices. You may need to restart Home Assistant once after logging in for the notification action to register.
- Location: Allows your device to provide location to Home Assistant, a
-
-
Once you have granted or denied permissions, the app will create the required connections to your Home Assistant instance and then take you to your Home Assistant home screen.
- Depending on the app version, you may see a "What's New" screen in between the end of setup and be taken to your home screen.
- Once you see the home screen, the installation is complete.
-
If you have difficulties completing setting up the app, refer to the troubleshooting guide.
Remember to login using your credentials and not to use Trusted Networks, if you have that enabled otherwise the app will only work on the trusted network.
Adding Additional Servers
![]() or
or ![]()
Requires Home Assistant 2021.10 or newer.
Once you have set up your first server, you can add additional Home Assistant instances.
- In the Companion app, go to Settings > Companion App.
- Select the Add Server option.
- Servers on the same local network as your device will be discovered and listed automatically.
- If the new server is not listed automatically, enter the address in the same way as setting up the first server.
TLS Client Authentication
![]()
If your Home Assistant requires TLS Client Authentication (because it is behind a reverse proxy configured to perform TLS Client Authentication), the app will ask for a certificate. If no matching certificate is installed or supplied, you might see an error or a blank screen depending on your setup.
Please refer to your device and Android version documentation to install the certificate. Make sure to install the certificate as a "VPN & app user certificate". An example for Pixel phones is available here: Add & remove certificates.
Wear OS does not support authentication with installed certificates. The app cannot transfer the certificate to the Wear OS app automatically, therefore you are asked to provide a certificate during the Wear OS app onboarding. The certificate and key need to be provided as a single file in PKCS12 format. If that does not work, refer to the troubleshooting steps.