Getting Started
Requirements
| Platform | Minimum Version | Notes |
|---|---|---|
| iOS 15+ | iPhone 6s or newer | |
| Android 6+ | Available in full and minimal flavors |
Requires Home Assistant 0.104.0 or newer. Learn more about Home Assistant Cloud and remote access.
Setting up
If you're on the same network as your Home Assistant server, the app will automatically detect it. Or, you can set up the app from any location if your Home Assistant server is configured for remote access.
Step-by-step setup
-
Download the app: Get the Home Assistant Companion app.
-
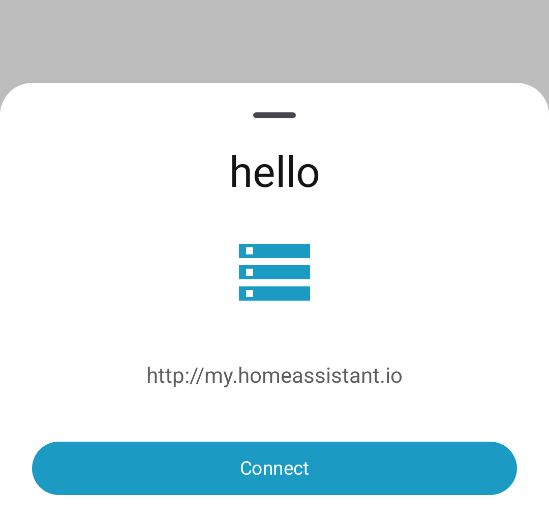
Welcome screen: Open the app and select Connect to my Home Assistant server to begin setup.
-
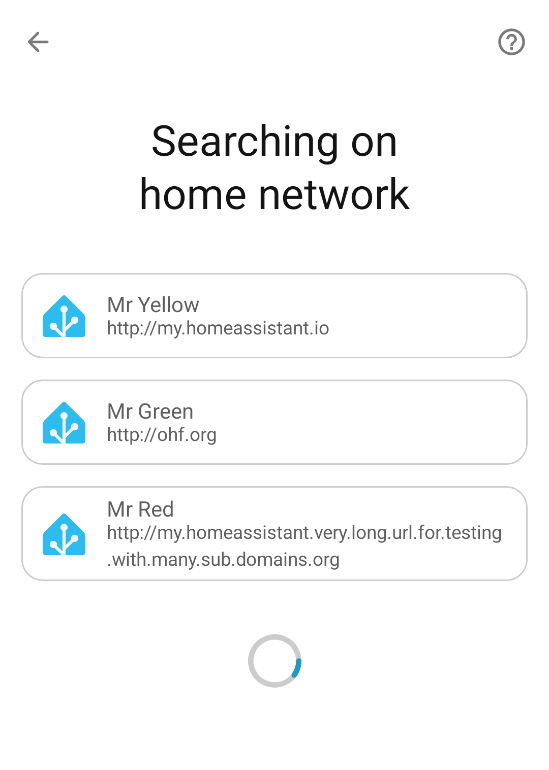
Network discovery: The app searches for Home Assistant servers on your network.
Server found automatically
If a single Home Assistant server is found, the app will automatically offer you to connect to it.
Multiple servers found
If multiple Home Assistant servers are found, you will see a list to choose from. Tap the server you want to connect to.
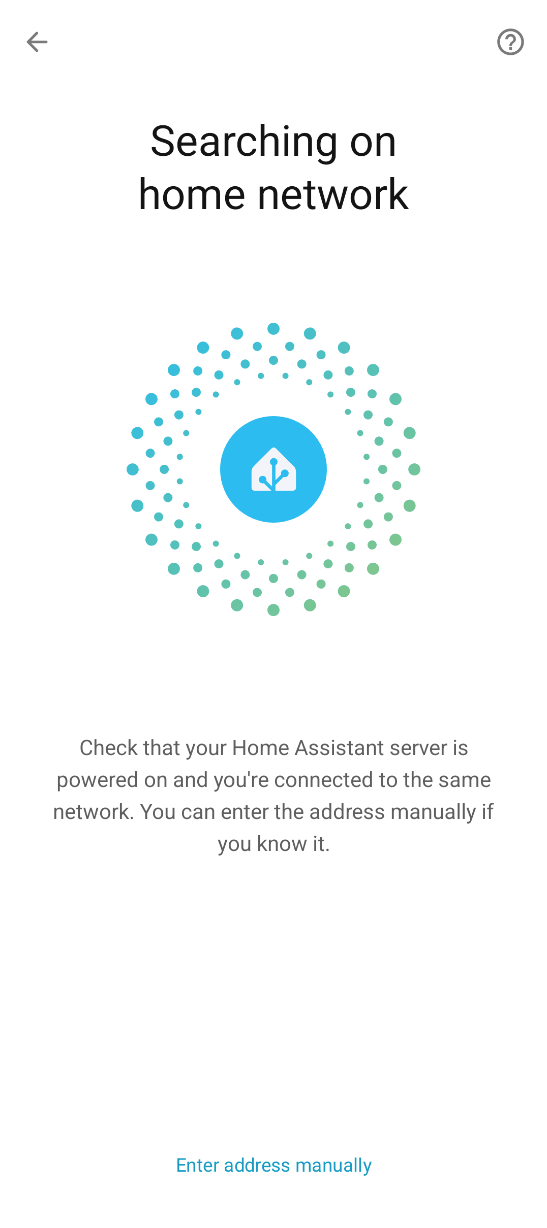
Server not found or connecting remotely
If no server is found, or you're connecting from outside your home network:
- Tap Enter address manually
- Enter your Home Assistant URL
 tip
tipUsing Home Assistant Cloud Remote access is recommended for secure remote access.
-
Login: Enter your Home Assistant credentials to authenticate.
infoAlways log in using your Home Assistant credentials. If you have Trusted Networks enabled, avoid using it for the app, otherwise the app will only work on the trusted network.
-
Device naming: Choose a name for your device as it will appear in Home Assistant. This name identifies your device entities and in automations and actions.
-
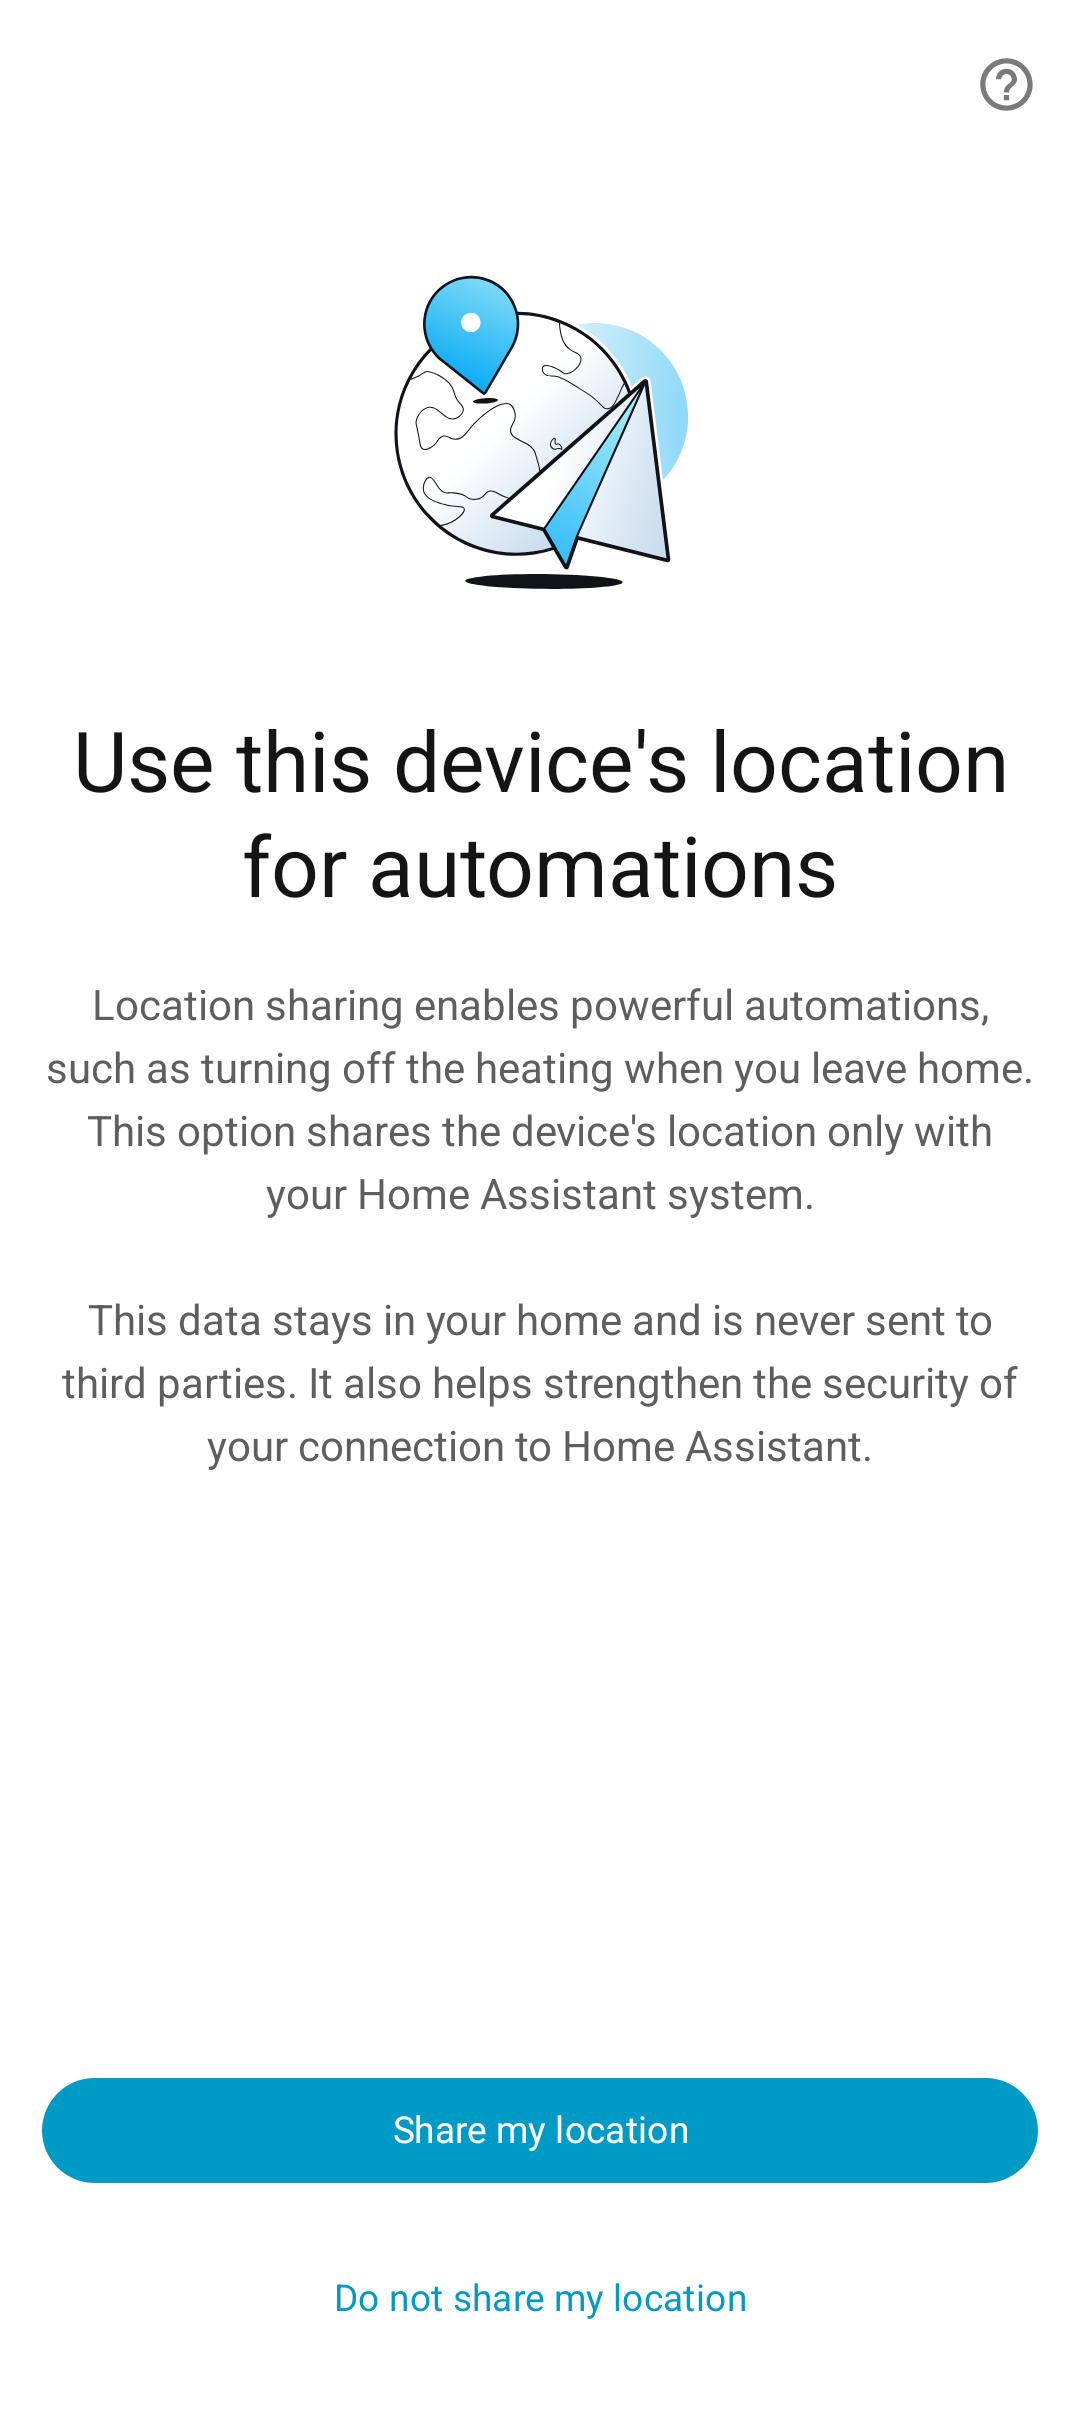
Location permission: The app asks for location access to enable automations and secure connections.
- Location sharing enables automations such as turning off heating when you leave home
- Your location data stays in your home and is never sent to third parties
- Location also helps strengthen the security of your connection to Home Assistant
- Choose Share my location or Do not share my location
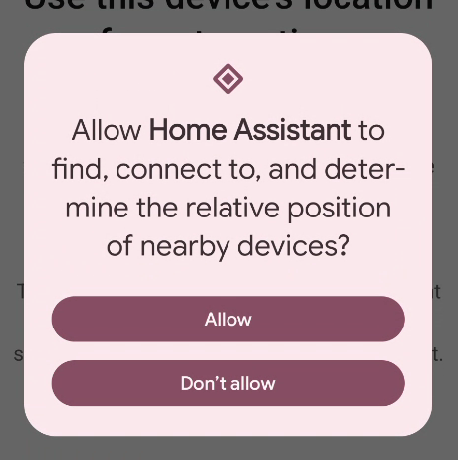
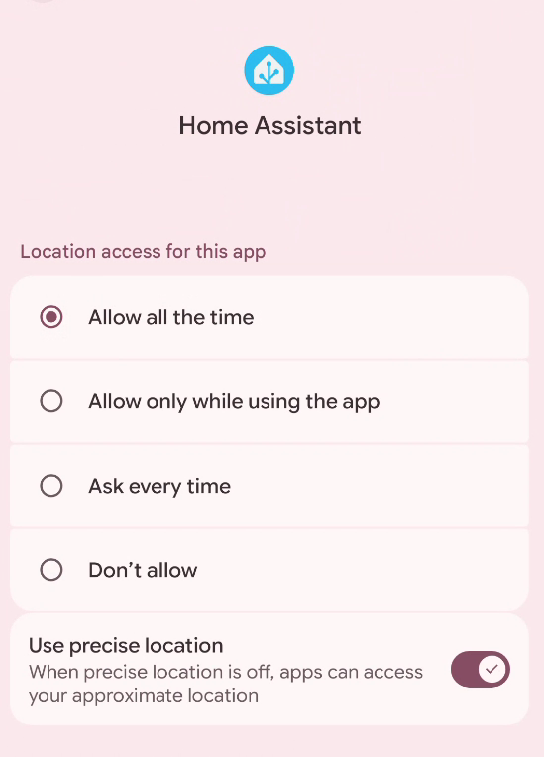
Android
The app needs Location: Allow all the time and Nearby devices for background location updates to work properly.
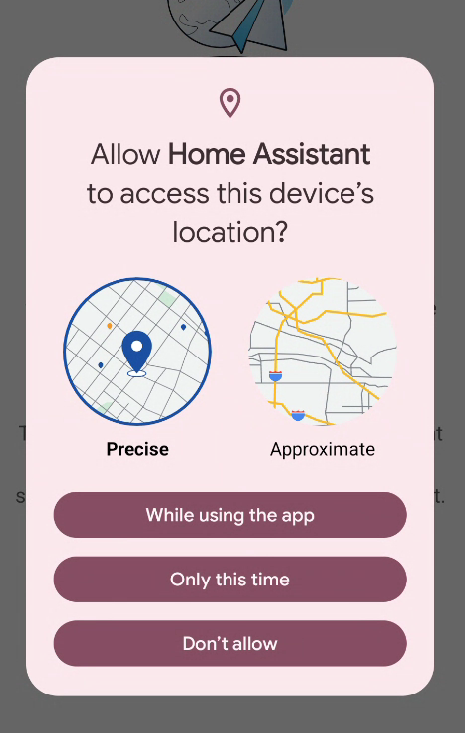
iOS
Your device will show the standard location permission dialog.
- Select Allow Once, Allow While Using the App, or Don't Allow
- For full functionality, including background automations, choose Allow While Using the App, then in the next prompt Allow always
-
Connection security level: If using a non-encrypted URL (such as a local IP address), choose a security level:
- Most secure: Only allows non-encrypted connections when you're on your home network (requires location permission)
- Less secure: Allows non-encrypted connections from any network (not recommended for public networks)
- Learn more about connection security level
-
Set up your home network (Most secure only): If you selected Most secure in the previous step, you will be asked to confirm your home network.
- The app detects your current Wi-Fi network (SSID) and pre-fills it as your home network
 On Android, you can also use VPN or Ethernet as trusted networks
- This allows the app to know when you're home and can safely use non-encrypted connections
- You can add additional trusted networks later in Settings > Companion app > [your server]
-
Setup complete: The app finalizes the connection and takes you to your Home Assistant dashboard.
If you have difficulties setting up the app, refer to the troubleshooting guide.
Notifications
After setup, you will be asked to enable notifications. This allows Home Assistant to send you alerts for automations, reminders, and updates.
On iOS, you will also be asked to allow critical notifications. These are high-priority alerts that play a sound even when your device is in silent mode or Do Not Disturb is enabled.
Learn more about how to send notifications from Home Assistant.
Adding additional servers
Requires Home Assistant 2021.10 or newer.
Once you have set up your first server, you can add additional Home Assistant servers:
- In the Companion app, go to Settings > Companion app.
- Select Add Server.
- Servers on the same local network will be discovered automatically.
- If the server is not listed, tap Enter address manually and provide the URL.
TLS client authentication
![]()
If your Home Assistant requires TLS Client Authentication (because it is behind a reverse proxy configured to perform TLS Client Authentication), the app will ask for a certificate. If no matching certificate is installed or supplied, you might see an error or a blank screen depending on your setup.
Please refer to your device and Android version documentation to install the certificate. Make sure to install the certificate as a "VPN & app user certificate". An example for Pixel phones is available here: Add & remove certificates.
Wear OS does not support authentication with installed certificates. The app cannot transfer the certificate to the Wear OS app automatically, therefore you are asked to provide a certificate during the Wear OS app onboarding. The certificate and key need to be provided as a single file in PKCS12 format. If that does not work, refer to the troubleshooting steps.